Showing posts with label vintage diy. Show all posts

Friday, May 24, 2013

ladies and gentlemen! i have an ANNOUNCEMENT

no i'm not pregnant, sheesh, quit asking! jk
but really, people keep asking when we are gonna have another kid. and i'm all like "um, can't you see i ALREADY have my hands full" plus where would be put another kid? our house is full up!


but now to my announcement, my real announcement (other than that rabbit trail).

my esty shop is OPEN!

[insert a double round of applause (one round for each child i have)]

you may have seen some of my bunting in previous posts and my bunting diy, way way back when. but now you can purchase it from me.
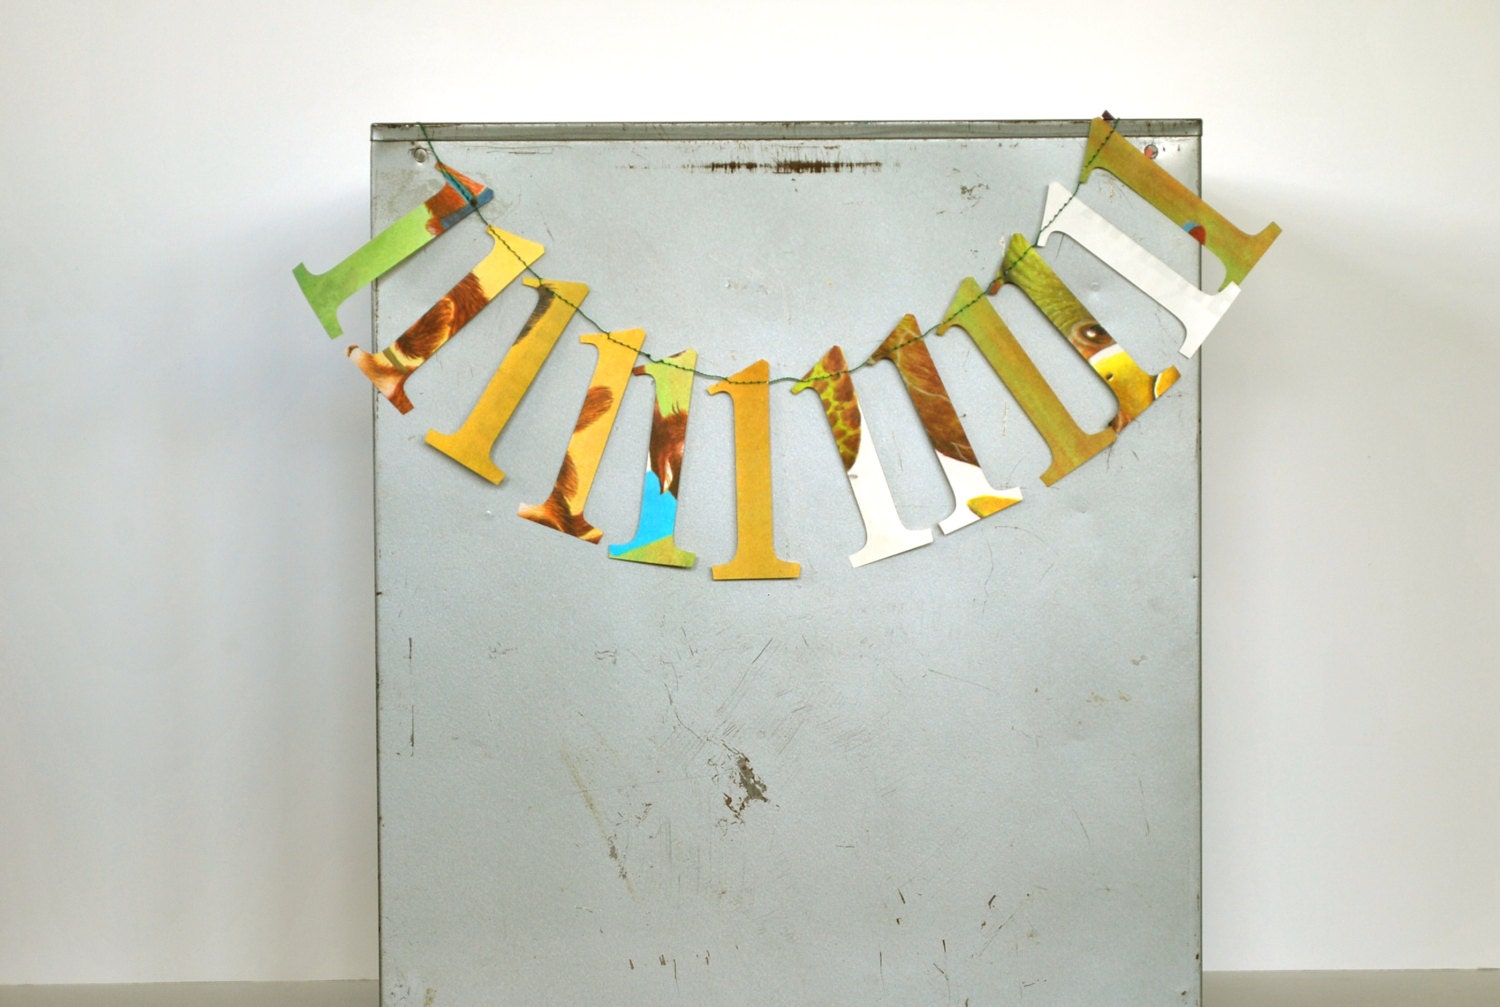

oh, and notebooks too.
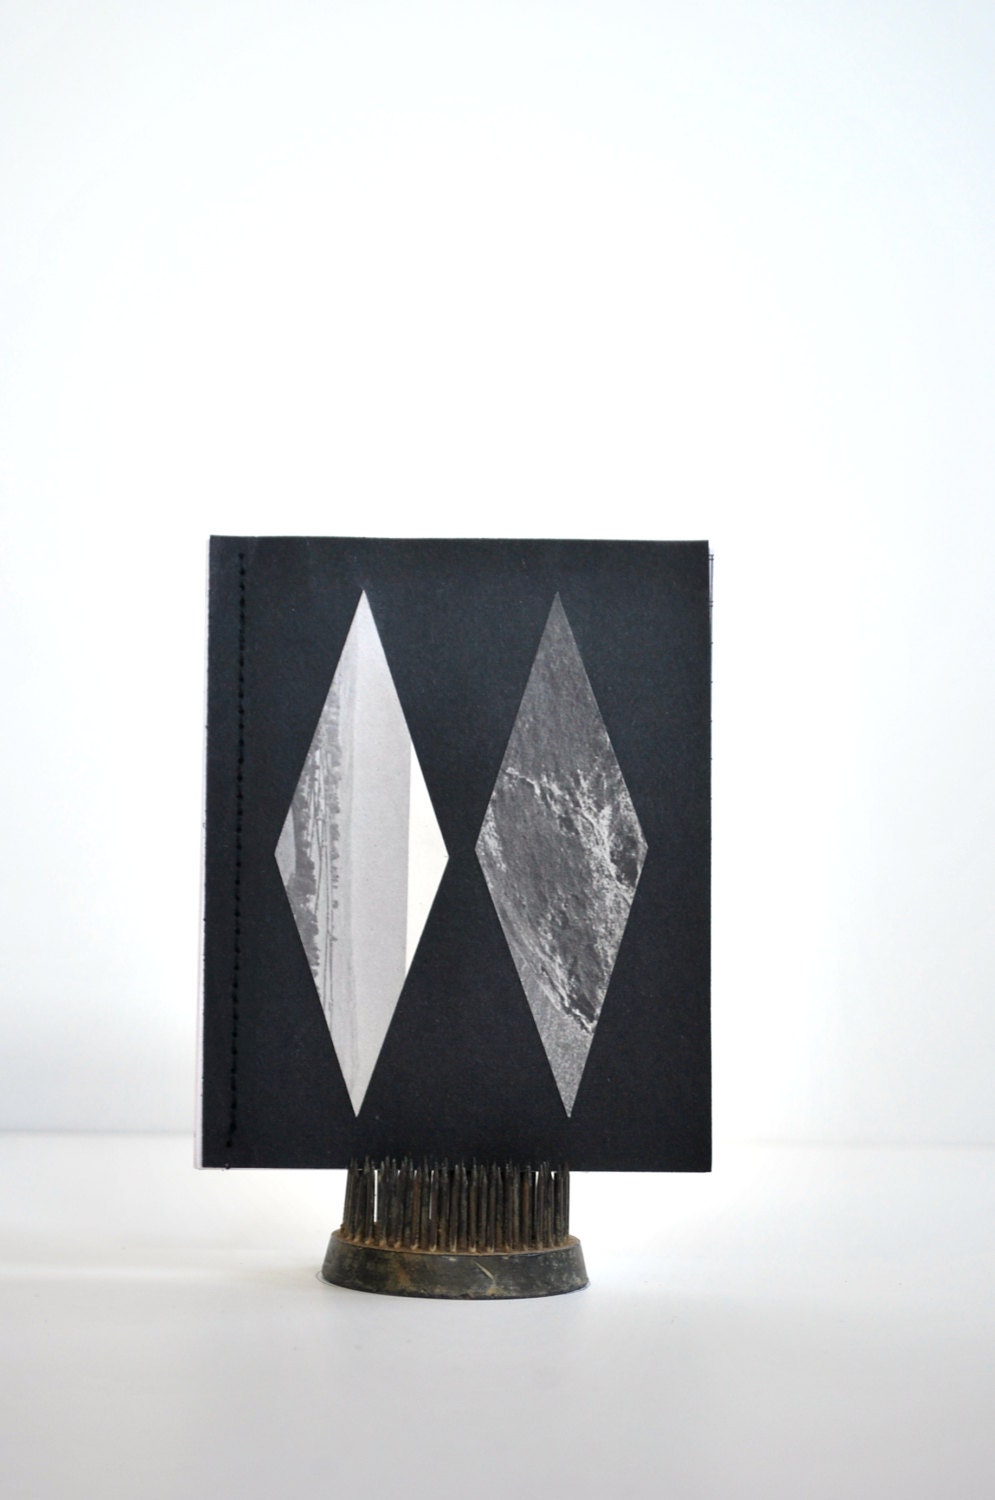


here's the best part about my shop: everything is made from vintage materials. this is my passion, finding new and interesting ways to use vintage stuff that would normally get thrown out. so go check it out, take a look around, buy out the whole shop, we both know you want to.

Monday, March 4, 2013

rethinking: vintage shelf liner

i'm a sucker for ephemera. ephemera is any transitory written or printed matter not meant to be retained or preserved. for example cards, packaging, paper, playing cards, twine. i don't know why but i almost always buy these things when i find them. i'm worried they will be thrown out unappreciated. vintage packaging or playing cards are so much cooler than what is around today. i have found myself with a small collection (ahem, hoard) of shelf liner. some of it i used as shelf liner, but some of it (the stuff i love) i've used in art projects.


here's the deal:

you'll need scissors/x-acto knife, shelf liner, fabric (for backing), and an embroidery hoop. i had all these things on hand because i buy fabric and embroidery rings like no one's business.


cut out the pattern you like. i knew i wanted mine to kinda grow up from one side so i had that in mind when cutting.

place fabric in embroidery hoop, peel shelf liner and adhere to fabric. i actually had to add glue because my liner fell off after a bit.


Monday, January 28, 2013

vintage diy

ever since christmas my poor shelves in the dining room have been empty. we had company over last saturday and what is better motivation to get your house together than guests? nothing. its a priority for me to have pictures in my house, so.... that's what i put there. unfortunately i didnt have any more frames or time to go get some. so i made something instead. i'm always the most creative out of necessity.

all you need is a piece of wood that will sit on its own (we have lots of stuff like this lying around), washi tape, and pictures (mine are from prinstagram). this is easy enough. i spaced my pictures evenly and hung them with washi tape. i thought it was feeling a little too rustic so later i added some gold leafing. which i love.
supplies


Wednesday, January 23, 2013

vintage beauties

i've been trying to challenge myself in photography. i found some of this black paper (that i'm gonna make notebooks out of) and it inspired me. i am really liking how these turned out. i also used the "pretend" macro setting on my camera, which i had never used before.

also, i use this string for everything: bunting, wrapping, tassel-making. if you ever run across vintage thread/string grab it! it always comes in handy and then you can say "i wrapped everything with vintage stuff" this makes me really happy. i love reusing things that would ordinarily get thrown out.

also, i recently went to a church estate sale that had piles and piles of sheet music and old sunday school books. i wanted to take them all home with me. and do what with them? just look at them i suppose. obviously i didnt buy all of it but am sad to think that most of it will probably be thrown out. i did buy some old attendance forms that i cut up and will soon be notebooks that i'm really excited about. i will do a post about them when they are finished. the will be in my new etsy shop this spring! don't know what etsy is? you have to check it out

also, just kidding, that's all i got.


Tuesday, January 15, 2013

re-diy

here's a little re-diy idea for you. are you like me? not much time on your hands? itching to be creative? noisy kids sucking up all your time? well you are in luck this diy is so easy you can do it while your kids are running around (like i did).
the kiddos really, really wanted to help me with this one, but i said, "get out of town! paint pens are NOT for kids."

we've been using this vintage laundry basket in our room, i love it. as you can see, it has a cool little diamond pattern on it. and i thought "wouldn't it be cool if you could see that better" so i put a bird on it got myself a paint pen ($4!!) and colored it. suPER easy and suPER fun. i used a paint pen so that when i get tired of it i can spray paint over it easily. i picked gold because, well duh its beautiful. also this diy totally turns my cool hamper into an on trend masterpiece (metallics + geometric shapes = on trend)

before:


after:


this got me thinking. what else could i "on-trend" with a paint pen? you got any ideas?

Thursday, January 10, 2013

vintage diy

i have been in a craft-funk. i'm itching to make but can't think of anything. i want to take pictures.... but of what? my kids? again? (jk)

also it's hard to get anything done (let alone be sane), when they dont take a nap.

so this project, from design sponge, was perfect. i actually had almost everything on hand. i was thinking i would have to go buy cedar shavings and then ashley english mentioned in her post that she raises chickens and so always has cedar on hand. oh yeah, i almost forgot, we have chickens (palm to forehead). zula and effi were very helpful at pulling the pine needles off the branches (effi was so into this), dumping everything on the floor (um... also effi), and almost cutting everyone's fingers off (that would be zula).


here they are, the little cuties.


Friday, June 8, 2012

a little DIY

i made some bunting for the bestie's farm chicks booth this year. here is the diy i did for it last year. check out her blog, gather and hunt, to see pictures of her booth and the fun heart bunting we made.


recently i made some circle bunting for farm chicks and for school house craft. they were such a hit i thought i'd share how i made them here.
this project is really easy and fun. for the farm chicks show i made my bunting from an old atlas and for school house craft i used old writing paper and an algebra book. i am planning on doing red and white for christmas this year. i am really excited to see how it will turn out!
here is what you will need:
-a stack of circles, i have access to a sizzix so this was really easy. if you dont you could just cut cirlces or use a circle cutter.
-a sewing machine


since i really like my stuff to be made from 100% vintage materials i used vintage thread when sewing my circles together.
#1-my stack of papers
#2- pull some extra string out of your machine so you have a tail to hang bunting from. start sewing.
#3- feed next circle through machine.
#4- a string of circles.

to create desired space between circles i continued sewing but waited a second or two before putting in my next circle. i experimented with how long to wait to get the desired distance.

here are some pictures of my bunting at school house craft:


its also fun to do different sized circles and alternate them along your strand.
be sure to check back to see pictures of my christmas decorations.


Monday, May 14, 2012

lookie what i made!!

i'm pretty proud of this. i'm also pretty proud that all i spent was 12 dollars! well maybe 20 :)

i found the wood on the street, the wheels were 12 and the crates i've picked up here and there (i know i didn't pay more than 3 dollars each for them).

what do ya think? i love it.

i copied rachel denbow over at smile and wave. have you been there? she's so fun and her blog is sweet.


here's the diy for it :)

Tuesday, April 10, 2012

re-diy

do you remember this picture? i put it at the end of a post FOREVER ago and said "here's a sneak peak at a diy coming up"? well i said that thinking it would make me DO a diy post. that didn't really work out, obviously. and i actually took that picture even longer ago than i posted it! see my iced coffee in the background? yeah it was LAST summer. ha
what you see in the picture above is film from some old film reels. i cut them all off so that i could use the frame. every once in awhile i come across vintage film reels, at an estate sale or someone gives me one (don't ask me why people give me stuff, it just seems they always do). i always grab them because they are so handy for projects. here's one way i've decorated with them:


 i also use them as my base when i make wreaths. its super easy and a good way to re-purpose.

here is my latest project. all i used was some film reels, pastry tins and chain.


can you think of any other fun ways to reuse film reels?

Wednesday, March 14, 2012

zula's birthday party #2

zula just turned two. here is her party... the one at our house. it is actually her second second birthday party. you know what i mean right? ;) her first party was at oma's house. it was super fun. we had cake pops and played with cousins. this is birthday party number two!


when the husby and i had kids we decided that we wanted to make a big deal out of birthdays. do it up right, ya know? her party this year was kid themed. we had chicken nuggets, juice boxes, sweet potato fries and ice cream sandwiches. my goal was to get pictures of adults drinking out of juice boxes. ha i was successful and we all had fun! also i really like juice boxes.

and zula really liked her ice cream sandwich:)


ps have you checked out my bestie's blog lately? its SUper cool!

Wednesday, February 15, 2012

ladies day

some good friends and i recently threw a baby shower for the very lovely erin anderson. she is the happy new mama of baby #4!  we chose a "50's housewife" theme so that we all had an excuse to wear vintage dresses. we drank tom collin's, ate mystery spread and jello molds and had some good fun! here are some pictures of our party. i made most of the decorations and will be posting a diy or 2 coming up shortly, so check back soon!


p.s. do you like my new haircut?